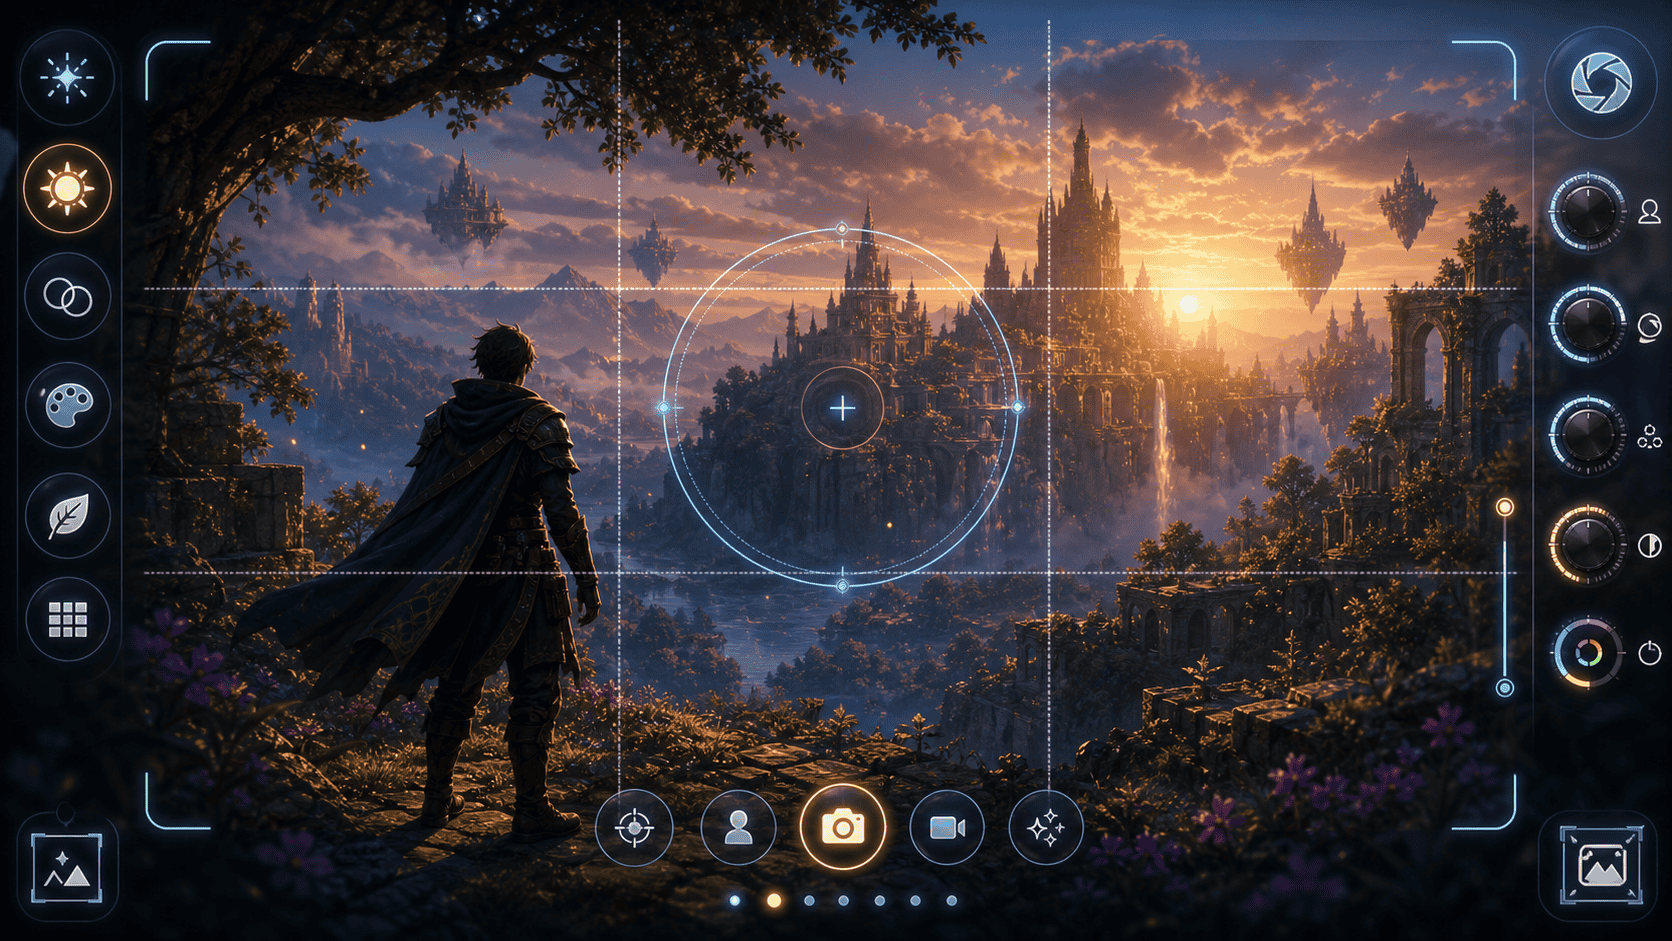
Quick Start
Start with a tiny working version
Photo mode often gets judged by how many settings it offers, but most players decide whether they like it much earlier. What matters first is how quickly they can enter the mode, remove clutter, frame a shot, and understand what will happen after pressing capture.
Build it in small code pieces
1. 値を用意する
Inspectorで変更できる値と表示先を置きます。
csharp
    [SerializeField] private TextMeshProUGUI statusText;
    [SerializeField] private float cameraFov = 1f;
    [SerializeField] private float focusDistance = 2f;
[SerializeField] private float uiHidden = 3f;2. 状態を変える
ボタンを押した時に、1つだけ状態を進めます。
csharp
    public void NextStep()
    {
        step = (step + 1) % 3;
        var label = step == 0 ? "撮影モードへ入る" : step == 1 ? "カメラを調整" : "UIを隠して保存";
        if (statusText != null)
        {
            statusText.text = $"{label}\ncameraFov={cameraFov:0.##}\nfocusDistance={focusDistance:0.##}\nuiHidden={uiHidden:0.##}";
}3. 画面に表示する
変わった結果を画面に出して確認します。
csharp
        if (statusText != null)
        {
            statusText.text = $"{label}\ncameraFov={cameraFov:0.##}\nfocusDistance={focusDistance:0.##}\nuiHidden={uiHidden:0.##}";
        }
        Debug.Log($"フォトモードと撮影UI: {label}");
Complete script
csharp
using UnityEngine;
using TMPro;

public class PhotoModeTutorial : MonoBehaviour
{
    [SerializeField] private TextMeshProUGUI statusText;
    [SerializeField] private float cameraFov = 1f;
    [SerializeField] private float focusDistance = 2f;
    [SerializeField] private float uiHidden = 3f;

    private int step;

    public void NextStep()
    {
        step = (step + 1) % 3;
        var label = step == 0 ? "撮影モードへ入る" : step == 1 ? "カメラを調整" : "UIを隠して保存";
        if (statusText != null)
        {
            statusText.text = $"{label}\ncameraFov={cameraFov:0.##}\nfocusDistance={focusDistance:0.##}\nuiHidden={uiHidden:0.##}";
        }
        Debug.Log($"フォトモードと撮影UI: {label}");
    }
}Inspector
Connect the UI reference in the Inspector, then use the button to confirm each value changes.
Summary
What to take away
Learn how to structure camera controls, UI hiding, and save feedback so photo mode feels fast, readable, and worth using.
The page is designed to help you move from reading to a small practical decision. Use the checklist above before jumping into the next related article.
Read next
ARTBrowse English articlesReturn to the English article index and choose the next topic by engine, tag, or workflow.CMPCompare game enginesCheck Unity, Unreal Engine, Godot, and Roblox from a beginner-friendly English comparison view.HOMEEnglish learning homeGo back to the English top page for tutorials, glossary entries, news, and learning routes.
Related guides
SYSThreat indicator and aggro readability design guideA practical guide to showing who enemies are targeting and where immediate danger is pointing without flooding the screen.MAPCapture point, overtime, and score visibility design guideA practical guide to making ownership, progress, score flow, and overtime rules easy to read in control-based game modes.