本文へスキップ
UI

How to build a first settings menu for a game engine project

A practical guide to choosing the first settings that matter and avoiding a menu that looks complete but behaves inconsistently.

公開日: 2026-06-23#Roblox#settings menu#UI#audio#beginner

Quick Start

Start with a tiny working version

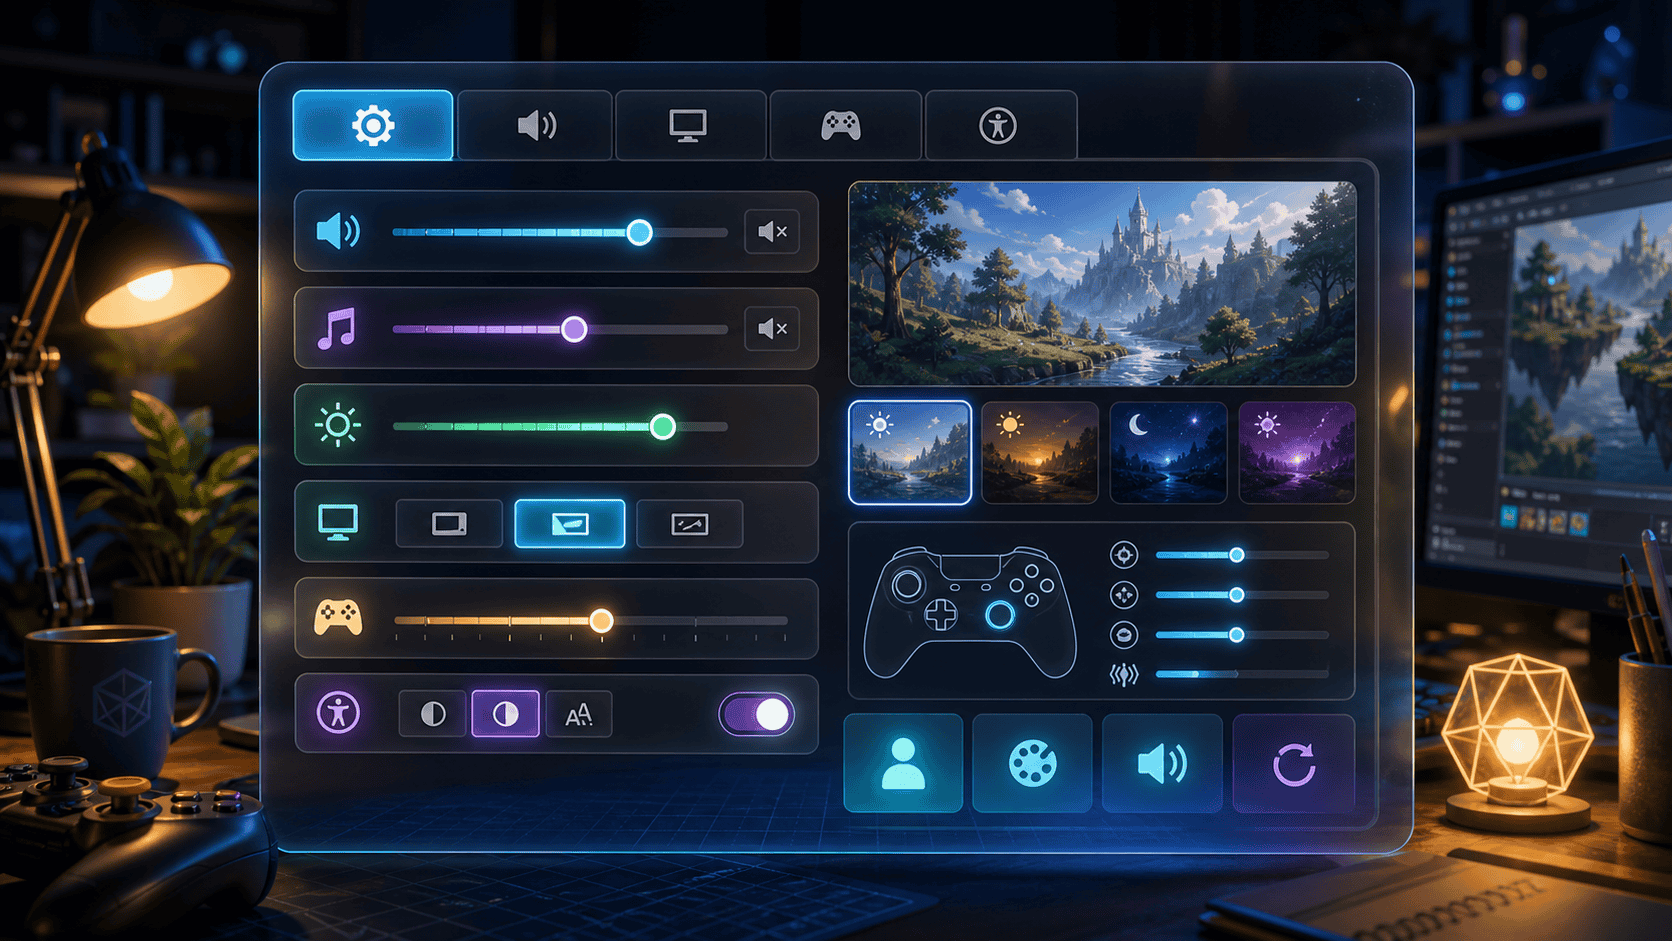
Your first settings menu does not need to be large. For a beginner project, audio, display, and input reference are usually enough.

Build it in small code pieces

1. 値を用意する

Inspectorで変更できる値と表示先を置きます。

SettingsMenuTutorial.cs
csharp
    [SerializeField] private TextMeshProUGUI statusText;
    [SerializeField] private float volume = 1f;
    [SerializeField] private float brightness = 2f;
    [SerializeField] private float languageIndex = 3f;

2. 状態を変える

ボタンを押した時に、1つだけ状態を進めます。

SettingsMenuTutorial.cs
csharp
    public void NextStep()
    {
        step = (step + 1) % 3;
        var label = step == 0 ? "項目を表示" : step == 1 ? "値を変更" : "保存して戻す";
        if (statusText != null)
        {
            statusText.text = $"{label}\nvolume={volume:0.##}\nbrightness={brightness:0.##}\nlanguageIndex={languageIndex:0.##}";
        }

3. 画面に表示する

変わった結果を画面に出して確認します。

SettingsMenuTutorial.cs
csharp
        if (statusText != null)
        {
            statusText.text = $"{label}\nvolume={volume:0.##}\nbrightness={brightness:0.##}\nlanguageIndex={languageIndex:0.##}";
        }
        Debug.Log($"設定メニュー: {label}");

Complete script

SettingsMenuTutorial.cs
csharp
using UnityEngine;
using TMPro;

public class SettingsMenuTutorial : MonoBehaviour
{
    [SerializeField] private TextMeshProUGUI statusText;
    [SerializeField] private float volume = 1f;
    [SerializeField] private float brightness = 2f;
    [SerializeField] private float languageIndex = 3f;

    private int step;

    public void NextStep()
    {
        step = (step + 1) % 3;
        var label = step == 0 ? "項目を表示" : step == 1 ? "値を変更" : "保存して戻す";
        if (statusText != null)
        {
            statusText.text = $"{label}\nvolume={volume:0.##}\nbrightness={brightness:0.##}\nlanguageIndex={languageIndex:0.##}";
        }
        Debug.Log($"設定メニュー: {label}");
    }
}

Inspector

Connect the UI reference in the Inspector, then use the button to confirm each value changes.

Summary

What to take away

A practical guide to choosing the first settings that matter and avoiding a menu that looks complete but behaves inconsistently.

The page is designed to help you move from reading to a small practical decision. Use the checklist above before jumping into the next related article.