本文へスキップ
Roblox Tutorial

Count clicks on a 3D part with ClickDetector in Roblox Studio

Attach a ClickDetector to a Part and count MouseClick events with a simple Script.

公開日: 2026-05-06#Roblox#Roblox Studio#ClickDetector#Luau
+
*
+
Coco, the guide character・喜ぶ
Coco
Game dev learning guide
This English lesson uses the same guided screen structure as the Japanese tutorials: a visual start, character guidance, step cards, code, mistakes, and a final checklist.
+
*
+
Hajime, the learner character・混乱
Hajime
Beginner game engine learner
I want to know what to make first, what to check, and how to tell whether I actually understood it.
Coco, the guide character
Count clicks on a 3D part with ClickDetector in Roblox Studio is designed around one visible result. We will keep the first pass focused so the lesson turns into practice quickly.
Hajime, the learner character
So I should finish the exact lesson once before changing it?
Coco, the guide character
Yes. Finish the stable version first, then change one variable, setting, or layout detail to make the idea yours.

Lesson Overview

Finish one working result first

1.

Goal

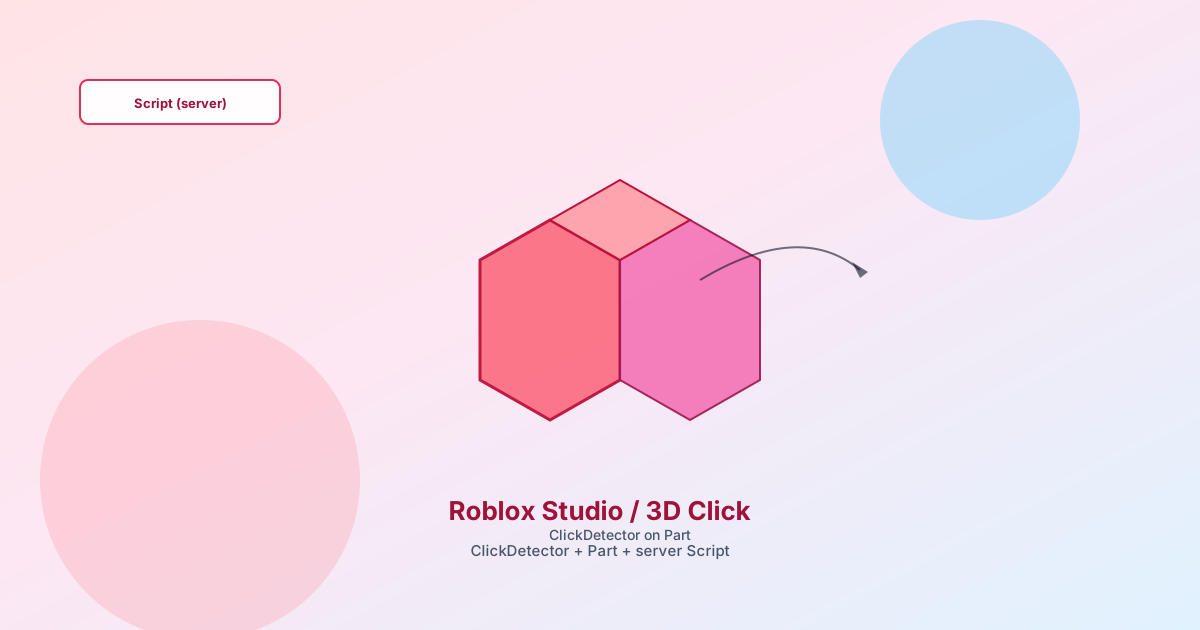
This lesson is a great first step into Roblox interaction design. You work with a real 3D object in Workspace and connect a very small script to a visible behavior.
2.

Time

20-30 min / Beginner. Keep the first pass small, then change one thing on your own.

3.

Result

Clicking the part increases the count every time.

Before You Start

Check the goal, inputs, and success condition

The lesson is easiest to follow when you know what should happen on screen, which control or editor action triggers it, and what counts as done.

1

This lesson is a great first step into Roblox interaction design. You work with a real 3D object in Workspace and connect a very small script to a visible behavior.

2

Understand the relationship between a Part, a ClickDetector, and a Script.

3

Clicking the part increases the count every time.

1Conclusion first

Roblox is especially friendly for early interaction experiments because a visible 3D object can become clickable with very little setup. That makes ClickDetector a powerful beginner lesson: you can stay close to the Workspace hierarchy, attach one component, add one small Script, and confirm the result immediately.

This lesson is not really about counting forever. It is about understanding how Roblox structures object interaction. The Part represents the world object, ClickDetector makes that object interactable, and the Script handles the response. Once those roles are clear, you can expand into doors, pickups, upgrades, NPC prompts, and many other interaction systems.

2What you will learn

  • Understand the relationship between a Part, a ClickDetector, and a Script.
  • Listen to MouseClick and update a piece of state each time the event fires.
  • Use Output logging as a fast way to verify early interaction logic.
  • Recognize how this same structure can scale into larger 3D interaction patterns.

3Before you start

  • A Roblox Studio place with a simple Part visible in Workspace.
  • The Explorer and Output windows open while testing.
  • A Script inserted in the correct place under the clickable object.
  • A habit of testing one interaction at a time before adding more systems.

4Step by step

1
Step 1
Prepare the clickable Part
Insert a Part in Workspace and add a ClickDetector so Roblox knows that the object should react to clicks.
2
Step 2
Listen for MouseClick
Create a Script under the Part and connect ClickDetector.MouseClick to a function that increases a number.
3
Step 3
Show or log the count
Print the value to Output first, then extend it later into labels, points, doors, or collectible interactions.

5Click counter

Click counter
lua
local detector = script.Parent:WaitForChild("ClickDetector")
local count = 0

detector.MouseClick:Connect(function()
    count += 1
    print("Clicked:", count)
end)
  • WaitForChild is used so the script safely finds the ClickDetector even if the object loads in a slightly different order.
  • Keeping the counter local is enough for a first experiment because the goal is understanding the event, not building persistent player data yet.
  • Printing to Output is a valid teaching tool. You do not need a full score UI for every first interaction lesson.

6Common mistakes

Clicking the part never changes the count

Most often, the ClickDetector was never inserted, or the Script is in the wrong place and cannot find it. Explorer placement matters a lot in Roblox Studio.

The script runs but the output is confusing

If several scripts print similar text, add a clearer prefix such as 'Click count:' so you know exactly which interaction is firing during tests.

The wrong object is being clicked

Large transparent or overlapping parts can absorb the interaction unexpectedly. If results seem inconsistent, simplify the test scene and make the clickable object obvious.

7Checklist

  • Clicking the part increases the count every time.
  • The script is attached in the correct place in the hierarchy.
  • You can explain the difference between the Part, ClickDetector, and Script roles.

8Practice ideas

  • Open a door after the part has been clicked three times.
  • Show the count in a SurfaceGui or ScreenGui instead of only Output.
  • Restrict the interaction so only certain players or tools can activate it.

9FAQ

Why start with Output instead of a visual GUI?

Because Output proves the interaction pipeline first. Once the event is reliable, it becomes much easier to move the same result into labels, rewards, or object changes.

Should this be a Script or a LocalScript?

For a simple shared world interaction, a Script is the clearer starting point. LocalScripts are more common for player-specific GUI, camera, or local input behavior.

Can ClickDetector be used for collectibles?

Yes. Many collectible or interactable systems begin with the same event model, then add player checks, animation, sound, or reward logic.

What is the best next lesson after this one?

Either a GUI-based click lesson or a touch-based trigger lesson works well, because it helps you compare different types of player input and feedback.

10Wrap-up

  • ClickDetector is one of the shortest paths from static object to interactive gameplay in Roblox Studio.
  • Roblox hierarchy placement matters just as much as the code itself in beginner scripting.
  • After this lesson, you are ready to connect clicks to UI, rewards, object changes, or progression rules.

11Character review

Hajime, the learner character
If I can make the result once and explain what changed, I can move on with more confidence.
Coco, the guide character
Exactly. The best next step is one small variation: adjust a value, swap an input, or connect the idea to a tiny scene of your own.
Tiny variation: finish the lesson once exactly as written, then change one value, label, axis, or UI detail. That small change is where understanding starts to stick.

Next tutorials