本文へスキップ
Roblox Tutorial

Increase score when a player touches a part in Roblox Studio

Combine leaderstats with Touched to create a simple score trigger.

公開日: 2026-06-03#Roblox#Touched#leaderstats#Luau
+
*
+
Coco, the guide character・喜ぶ
Coco
Game dev learning guide
This English lesson uses the same guided screen structure as the Japanese tutorials: a visual start, character guidance, step cards, code, mistakes, and a final checklist.
+
*
+
Hajime, the learner character・混乱
Hajime
Beginner game engine learner
I want to know what to make first, what to check, and how to tell whether I actually understood it.
Coco, the guide character
Increase score when a player touches a part in Roblox Studio is designed around one visible result. We will keep the first pass focused so the lesson turns into practice quickly.
Hajime, the learner character
So I should finish the exact lesson once before changing it?
Coco, the guide character
Yes. Finish the stable version first, then change one variable, setting, or layout detail to make the idea yours.

Lesson Overview

Finish one working result first

1.

Goal

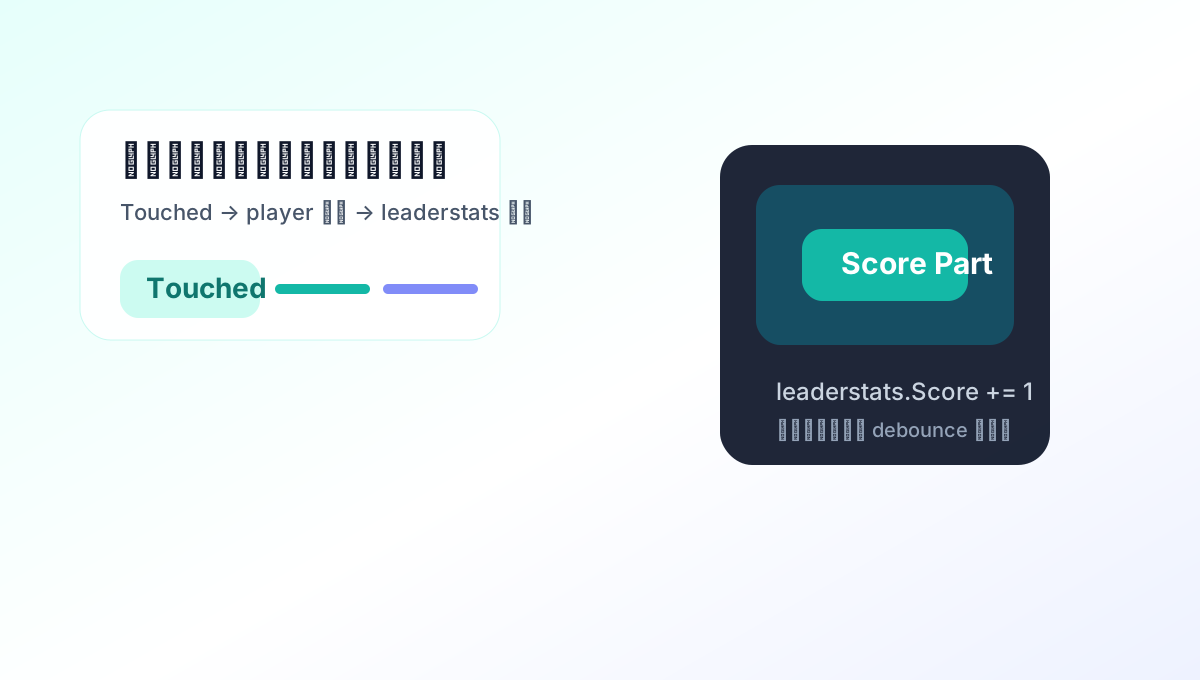
This lesson introduces a classic Roblox gameplay building block: a part in the world that reacts when the player touches it and updates score data.
2.

Time

25-35 min / Beginner. Keep the first pass small, then change one thing on your own.

3.

Result

Touching the part changes the visible score.

Before You Start

Check the goal, inputs, and success condition

The lesson is easiest to follow when you know what should happen on screen, which control or editor action triggers it, and what counts as done.

1

This lesson introduces a classic Roblox gameplay building block: a part in the world that reacts when the player touches it and updates score data.

2

Set up a visible leaderstats value that can act as a simple score.

3

Touching the part changes the visible score.

1Conclusion first

Touch-based triggers are one of the most recognizable building blocks in Roblox gameplay. They are easy to understand visually, easy to test, and useful in many beginner project types such as checkpoints, coins, hazards, doors, and simple progression systems.

This lesson matters because it connects three practical ideas at once: a trigger in the world, identification of the player who caused the event, and a score variable that the player can verify immediately. That combination turns a static part into a meaningful gameplay element rather than a decorative object.

2What you will learn

  • Set up a visible leaderstats value that can act as a simple score.
  • Use the Touched event on a world object to detect contact.
  • Identify which player character triggered the event before changing data.
  • Understand how a small trigger can become the base for many Roblox mechanics.

3Before you start

  • A Part in Workspace acting as the trigger target.
  • A leaderstats setup with a score-like IntValue visible during play.
  • Explorer access so you can verify where the Script and values live.
  • A simple test environment where the player's character can easily touch the part.

4Step by step

1
Step 1
Create leaderstats
Set up a leaderstats folder and an IntValue so every player has a visible score variable.
2
Step 2
Use Touched on the Part
Connect the Touched event and identify the player character that made contact with the trigger part.
3
Step 3
Increase score safely
Find the correct player and add to the IntValue so the score changes in a way the player can verify immediately.

5Touched score logic

Touched score logic
lua
local part = script.Parent

part.Touched:Connect(function(hit)
    local character = hit.Parent
    local player = game.Players:GetPlayerFromCharacter(character)
    if not player then return end

    local leaderstats = player:FindFirstChild("leaderstats")
    local score = leaderstats and leaderstats:FindFirstChild("Score")
    if score then
        score.Value += 1
    end
end)
  • Touched gives you the part that made contact, so the first real job is translating that contact back into the player's character and player object.
  • Using leaderstats is useful here because the learner can confirm the result visually without needing extra UI work.
  • The guard clause for a missing player is important. Many touched events can come from things other than the intended player character.

6Common mistakes

The score increases for the wrong collisions

Touched can react to many objects. If tools, accessories, or unrelated parts cause the event, strengthen the player identification logic before adjusting the score.

The score never changes even though the part is touched

Often the leaderstats folder or Score value is named differently than the script expects. In Roblox, exact hierarchy and exact names matter much more than beginners first assume.

The score increases too many times in one touch

Touched can fire repeatedly during contact. For a first lesson, that is acceptable, but many real systems later add cooldowns, one-time triggers, or part disabling to prevent repeated rewards.

7Checklist

  • Touching the part changes the visible score.
  • The script only updates players, not random parts or NPCs.
  • You can imagine how to turn this into coins, checkpoints, or hazards.

8Practice ideas

  • Turn the trigger into a one-time collectible by destroying or disabling the part after contact.
  • Subtract score instead of adding it to create a damage or hazard zone.
  • Add a cooldown so the same player cannot repeatedly farm the trigger in one place.

9FAQ

Why use leaderstats in an early lesson?

Because it provides immediate visual confirmation that the event worked. A player can see the score change without needing an extra custom interface first.

Can I use this for coins or checkpoints?

Yes. The same pattern works for many beginner mechanics. You only need to change what the script does after identifying the player.

Why might Touched fire more than once?

Physical contact in Roblox can generate repeated events while parts continue interacting. That is normal and often handled later with debounce or cooldown logic.

What should I compare this lesson with?

Compare it with ClickDetector and GUI button lessons. That helps you understand three different input paths: world touch, world click, and local interface click.

10Wrap-up

  • Touched plus leaderstats is a very practical beginner combination because the result is both interactive and easy to verify.
  • In Roblox, identifying the correct player is just as important as detecting the event itself.
  • Once this logic is clear, you can turn simple parts into rewards, hazards, checkpoints, or quest triggers.

11Character review

Hajime, the learner character
If I can make the result once and explain what changed, I can move on with more confidence.
Coco, the guide character
Exactly. The best next step is one small variation: adjust a value, swap an input, or connect the idea to a tiny scene of your own.
Tiny variation: finish the lesson once exactly as written, then change one value, label, axis, or UI detail. That small change is where understanding starts to stick.

Next tutorials