1.
Goal
This tutorial covers one of the most useful beginner patterns in Unity: reading a click on the ground and moving a character toward that point in a readable, controllable way.
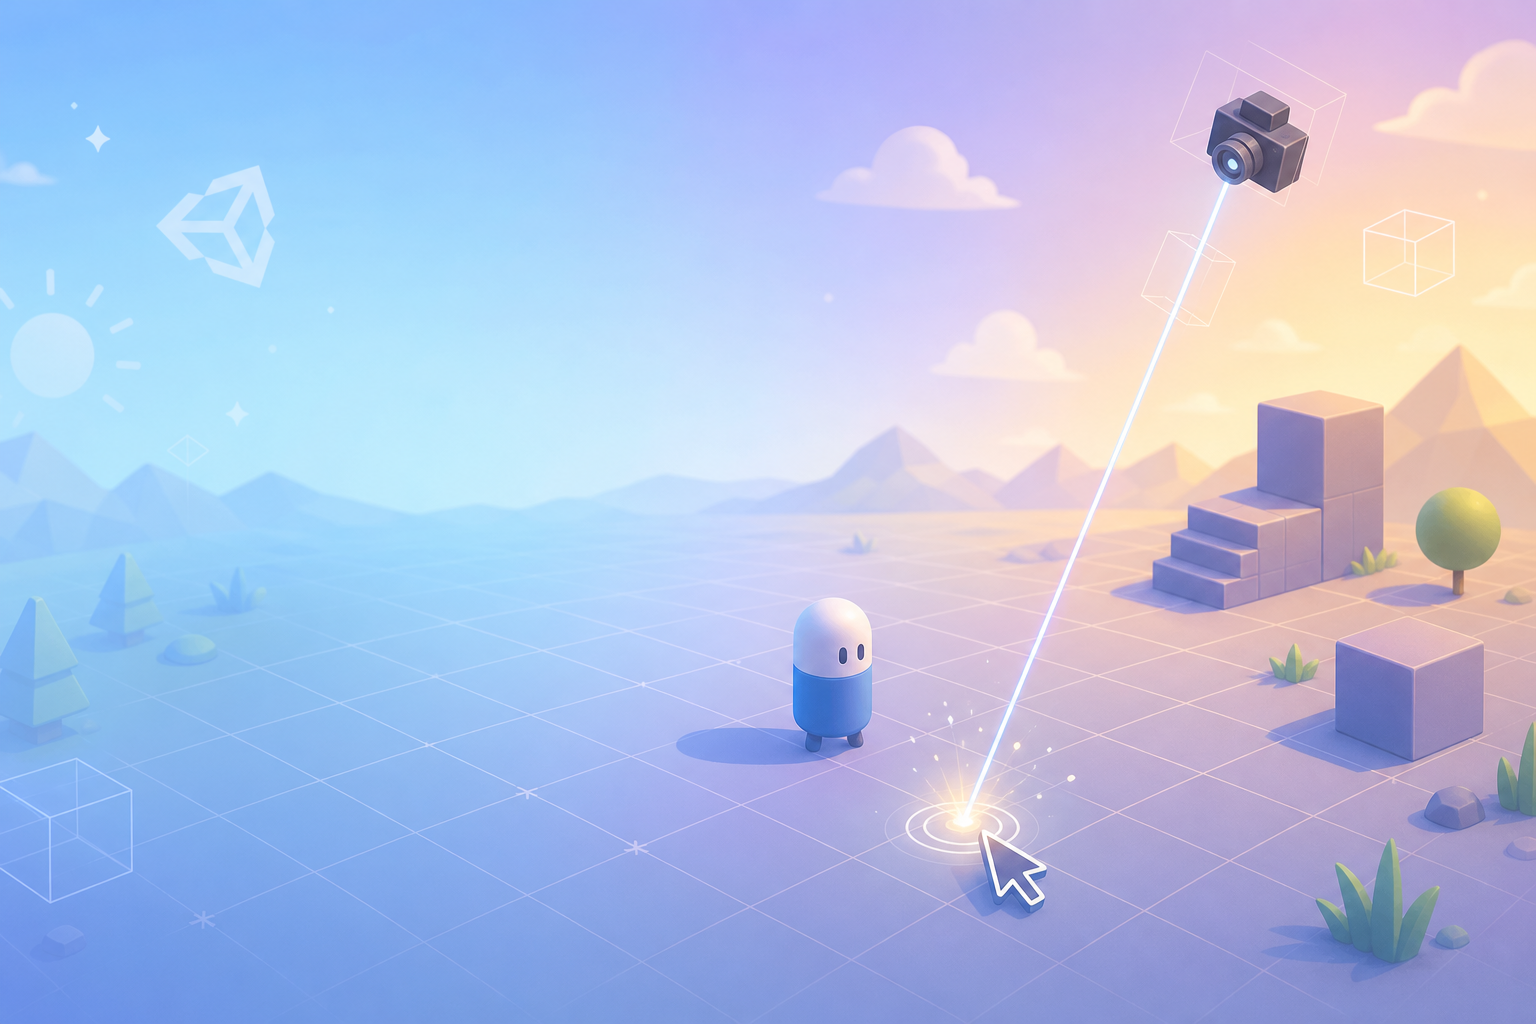
Use ScreenPointToRay, Physics.Raycast, and MoveTowards to create a beginner-friendly click-to-move controller.


Lesson Overview
This tutorial covers one of the most useful beginner patterns in Unity: reading a click on the ground and moving a character toward that point in a readable, controllable way.
30-40 min / Beginner. Keep the first pass small, then change one thing on your own.
A click on the floor sets the next destination.
Before You Start
The lesson is easiest to follow when you know what should happen on screen, which control or editor action triggers it, and what counts as done.
This tutorial covers one of the most useful beginner patterns in Unity: reading a click on the ground and moving a character toward that point in a readable, controllable way.
Translate a mouse click into a 3D ray using the main camera.
A click on the floor sets the next destination.
Click-to-move is a great intermediate beginner exercise because it combines input, 3D space, and readable movement logic in one compact pattern. Instead of only reacting to keyboard keys, the game now reads the world, understands where the player clicked, and turns that click into a destination.
The real value of this lesson is not only moving one object. It is learning how several Unity ideas connect: a click begins in screen space, a ray converts it into 3D space, a Raycast tells you what was hit, and smooth movement logic carries the object toward that point. Once that chain is clear, many strategy, action, and simulation interactions become easier to build.
using UnityEngine;

public class ClickMoveController : MonoBehaviour
{
    [SerializeField] private float moveSpeed = 5f;
    [SerializeField] private LayerMask groundLayer;

    private Vector3 targetPosition;
    private bool hasTarget;

    private void Start()
    {
        targetPosition = transform.position;
    }

    private void Update()
    {
        if (Input.GetMouseButtonDown(0))
        {
            var ray = Camera.main.ScreenPointToRay(Input.mousePosition);
            if (Physics.Raycast(ray, out RaycastHit hit, 100f, groundLayer))
            {
                targetPosition = hit.point;
                hasTarget = true;
            }
        }

        if (!hasTarget) return;

        transform.position = Vector3.MoveTowards(
            transform.position,
            new Vector3(targetPosition.x, transform.position.y, targetPosition.z),
            moveSpeed * Time.deltaTime
        );
    }
}The most common cause is that the floor object has no collider, or the LayerMask does not include the floor layer. The ray may be firing correctly, but there is nothing valid to hit.
This often happens when you use the full hit.point directly even though the character should stay on a flat plane. Flattening the target with the current Y value helps keep beginner movement stable.
Rotation bugs often come from trying to rotate toward a direction with nearly zero length. Guarding against tiny vectors and flattening the direction helps avoid noisy or jittery turning.
Teleporting confirms that the ray worked, but it does not teach movement control. A stored destination is much closer to real gameplay and introduces a reusable pattern for later systems.
Not for the first lesson. NavMesh is very useful later, but starting with plain Transform movement keeps the learning focus on input and hit detection rather than navigation setup.
Because beginners usually want intention, not surprises. Restricting the target to a ground layer makes the behavior easier to debug and easier to explain.
Yes. The same target-and-move pattern can be reused for enemies chasing waypoints, companions following markers, or puzzle objects moving to a selected spot.

