本文へスキップ
Unreal Engine Tutorial

Create a first UMG button and update text in UE5

Use Designer and Graph in a Widget Blueprint and update text when the button is clicked.

公開日: 2026-05-06#Unreal Engine#UMG#Widget Blueprint#Blueprint
+
*
+
Coco, the guide character・喜ぶ
Coco
Game dev learning guide
This English lesson uses the same guided screen structure as the Japanese tutorials: a visual start, character guidance, step cards, code, mistakes, and a final checklist.
+
*
+
Hajime, the learner character・混乱
Hajime
Beginner game engine learner
I want to know what to make first, what to check, and how to tell whether I actually understood it.
Coco, the guide character
Create a first UMG button and update text in UE5 is designed around one visible result. We will keep the first pass focused so the lesson turns into practice quickly.
Hajime, the learner character
So I should finish the exact lesson once before changing it?
Coco, the guide character
Yes. Finish the stable version first, then change one variable, setting, or layout detail to make the idea yours.

Lesson Overview

Finish one working result first

1.

Goal

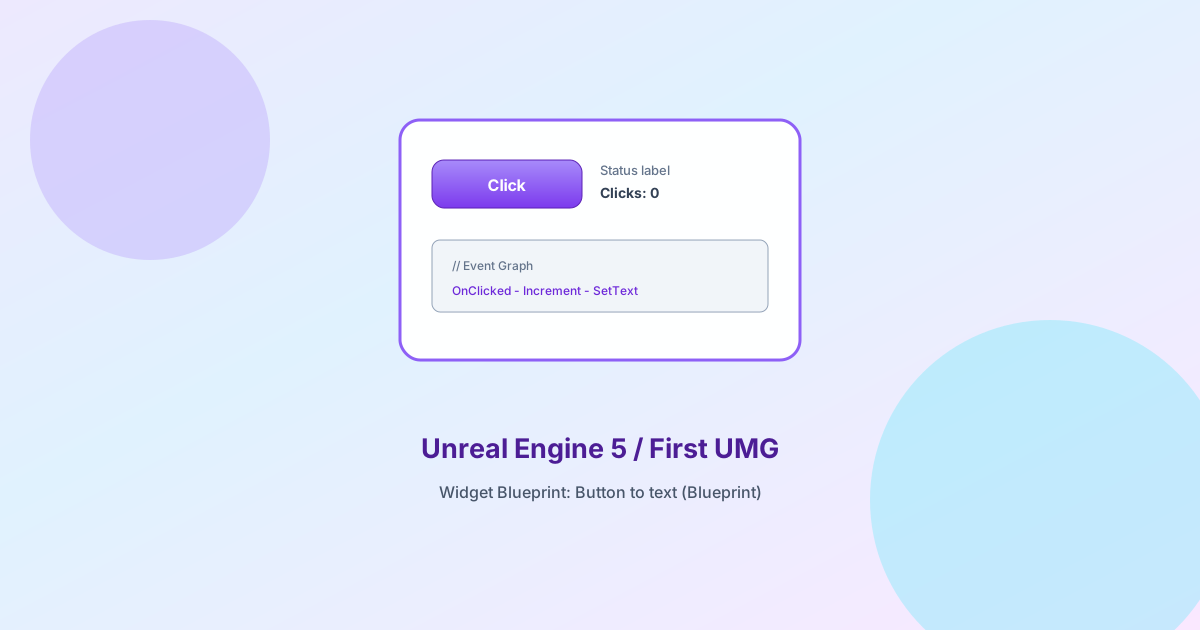
This tutorial teaches the standard UMG workflow: place the UI in Designer, connect the button in Graph, and change text when the click event fires.
2.

Time

25-35 min / Beginner. Keep the first pass small, then change one thing on your own.

3.

Result

The widget appears when play starts.

Before You Start

Check the goal, inputs, and success condition

The lesson is easiest to follow when you know what should happen on screen, which control or editor action triggers it, and what counts as done.

1

This tutorial teaches the standard UMG workflow: place the UI in Designer, connect the button in Graph, and change text when the click event fires.

2

Build a simple UMG layout with a Button and Text block.

3

The widget appears when play starts.

1Conclusion first

UMG is a core part of practical Unreal work because even visually focused projects still need menus, prompts, labels, and feedback. A first button lesson introduces the two sides of Unreal UI development: the Designer where you place the interface, and the Graph where that interface becomes interactive.

The beginner challenge is not usually creating the button itself. It is understanding where the widget is created, how it reaches the viewport, and how a click event changes something visible. Once that flow is comfortable, larger UI systems become much less mysterious.

2What you will learn

  • Build a simple UMG layout with a Button and Text block.
  • Connect the Button's OnClicked event inside the Widget Blueprint graph.
  • Change visible interface text in response to input.
  • Understand the difference between creating a widget asset and actually showing it during play.

3Before you start

  • A UE5 project where you can create Widget Blueprints.
  • A level or Blueprint place where the widget can be created on BeginPlay.
  • Basic confidence navigating the Designer and Graph tabs.
  • A clear naming habit for widget elements so later graphs stay readable.

4Step by step

1
Step 1
Build the layout in Designer
Create a Widget Blueprint, add a Button and a Text block, and give them clear names so the Graph is easier to read.
2
Step 2
Handle OnClicked in Graph
Select the button, create the OnClicked event, and change the text variable or directly set the Text block content.
3
Step 3
Add the widget to the viewport
Create the widget from your level or player Blueprint and use Add to Viewport so it appears on screen at runtime.

5Blueprint flow

Blueprint flow
text
Widget Blueprint
  Button -> OnClicked
  TextBlock -> SetText("Clicked")

Level Blueprint
  BeginPlay -> Create Widget -> Add to Viewport
  • The standard UMG loop is: build layout in Designer, define behavior in Graph, then create the widget and add it to the viewport from gameplay logic.
  • Renaming the button and text block matters more than beginners expect. Clear names make the graph easier to follow as soon as you add more than one widget element.
  • Changing visible text is a good first result because it confirms both event wiring and live UI update behavior at once.

6Common mistakes

The widget exists in content but never appears on screen

This usually means the widget asset was created successfully but never added to the viewport at runtime. In Unreal, creating UI in the editor is separate from actually spawning and displaying it during play.

Clicking the button changes nothing

The event may be wired, but the wrong text block might be referenced, or the widget instance on screen is not the one you edited. Naming consistency helps a lot here.

The layout looks different in play

Anchors, size rules, and viewport size can change how the widget behaves. Before rewriting the graph, make sure the Designer layout itself is anchored in a sensible way.

7Checklist

  • The widget appears when play starts.
  • The button click changes visible text.
  • You understand the split between Designer layout and Graph behavior.

8Practice ideas

  • Create a second button that resets the text to its original message.
  • Use a variable counter and show how many times the player clicked.
  • Open and close a panel with the button instead of only changing text.

9FAQ

Why split work between Designer and Graph?

Because Unreal separates presentation from behavior. The Designer lets you shape the interface visually, while the Graph handles events and logic. That split scales well as the UI becomes more complex.

Can I build menus entirely in Blueprint?

Yes, and many beginner and intermediate menu systems start that way. You can later mix in C++ or data-driven approaches if the project grows.

Should I change text directly or through a variable?

Either is fine for a first lesson. Directly setting a text block is easier to understand; variables become more useful when several widgets depend on the same state.

What is the best next lesson after this?

A strong next step is combining UI with world events, such as opening a widget when the player enters a trigger volume or presses an interact button.

10Wrap-up

  • A first UMG button lesson teaches creation, display, and event flow all at once.
  • Most beginner UI confusion comes from the gap between designing a widget and actually adding it to the viewport.
  • Once this pattern is clear, you are ready for menus, prompts, dialogue choices, and HUD updates.

11Character review

Hajime, the learner character
If I can make the result once and explain what changed, I can move on with more confidence.
Coco, the guide character
Exactly. The best next step is one small variation: adjust a value, swap an input, or connect the idea to a tiny scene of your own.
Tiny variation: finish the lesson once exactly as written, then change one value, label, axis, or UI detail. That small change is where understanding starts to stick.

Next tutorials