

導入
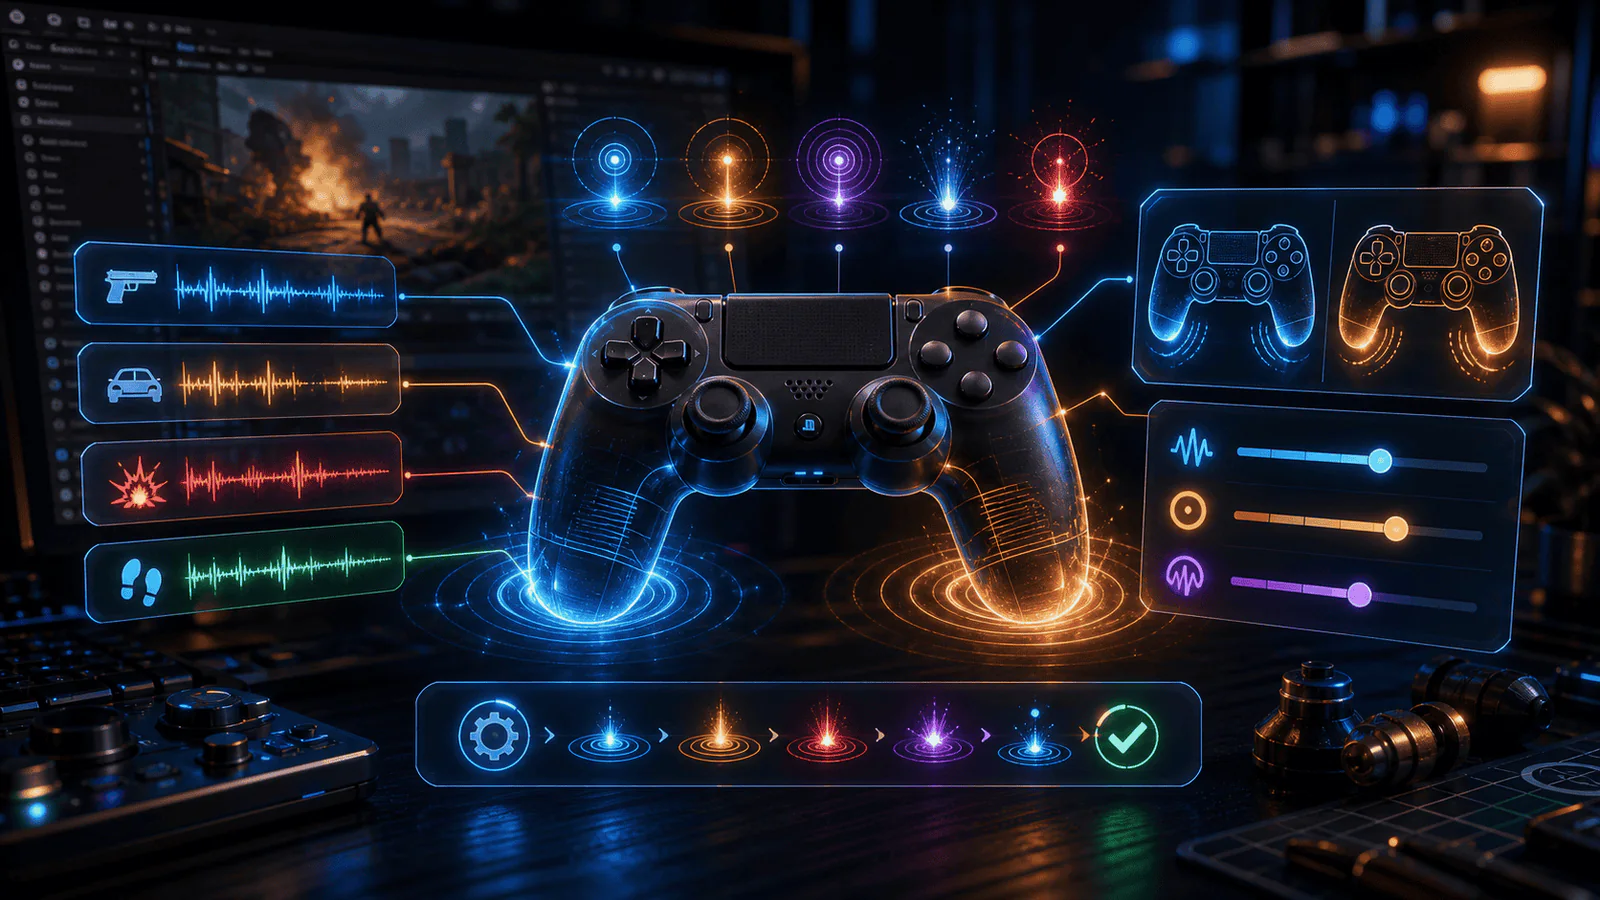
接続済みGamepadへ振動を送り、実時間で待ってから停止します。新しい振動で前の処理を止め、無効化時もモーターを停止させます。
準備と配置
Package ManagerでInput Systemを入れ、Input Systemを有効にします。HapticsFeedbackを常に有効なGameObjectに付け、Hit/CriticalをButtonまたは被弾処理から呼びます。
Unity 6向けの例です。[SerializeField]を付けた参照や設定値をInspectorで登録します。
新Input SystemでUI Buttonを操作する場合は、EventSystemにInputSystemUIInputModuleを設定します。旧Standalone Input Moduleを使う場合はActive Input HandlingをBothにして、入力方式をそろえます。
処理の流れ
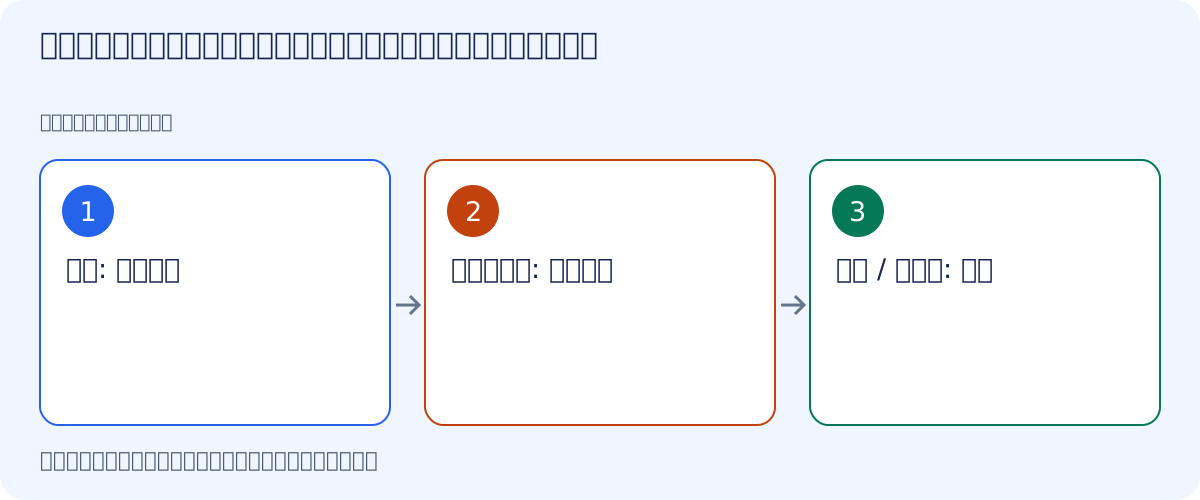
- 被弾: 弱く短い
- 大きな成功: 強く長い
- 終了 / 無効化: 停止
完成版
以下は記事内の最小例です。機能の範囲は後述の「この例の範囲」で確認してください。
HapticsFeedback.cs
using UnityEngine;
using UnityEngine.InputSystem;
using System.Collections;

public class HapticsFeedback : MonoBehaviour
{
    Coroutine routine;
    Gamepad vibratingPad;
    public void Hit()
    {
        BeginRumble(.25f, .12f);
    }

    public void Critical()
    {
        BeginRumble(.8f, .25f);
    }

    void BeginRumble(float strength, float seconds)
    {
        StopRumble();
        vibratingPad = Gamepad.current;
        if (vibratingPad != null)
            routine = StartCoroutine(Rumble(strength, seconds));
    }

    IEnumerator Rumble(float strength, float seconds)
    {
        vibratingPad.SetMotorSpeeds(strength, strength);
        yield return new WaitForSecondsRealtime(seconds);
        vibratingPad.SetMotorSpeeds(0f, 0f);
        vibratingPad = null;
        routine = null;
    }

    void StopRumble()
    {
        if (routine != null)
            StopCoroutine(routine);
        vibratingPad?.SetMotorSpeeds(0f, 0f);
        vibratingPad = null;
        routine = null;
    }

    void OnDisable()
    {
        StopRumble();
    }
}
検証用Buttonを作る場合は、On Click()の+からスクリプトを付けたGameObjectを登録し、Hit()、Critical()を選びます。引数がある関数は、各Buttonに渡す値も設定します。コード側でonClickへ登録する例では、Inspectorへ同じ処理を重ねて登録しません。
動作確認
Hitは弱く短く、Criticalは強く長く振動します。ゲームを停止・一時停止しても振動が残らないことを確認します。
この例の範囲
振動対応Gamepadが必要です。スマートフォンの触覚や全機種の振動仕様を共通化するものではありません。
まとめ
接続済みGamepadへ振動を送り、実時間で待ってから停止します。新しい振動で前の処理を止め、無効化時もモーターを停止させます。

この記事のまとめ
攻撃、被弾、移動、UI操作に対する振動の役割を整理し、過剰にも不足にもならない触覚設計の考え方を解説します。